

5 Signs Your Houseplants Have Fertilizer Burn — and How to Fix the Damage This Weekend

Brown leaf tips after fertilizing? Learn 5 signs of fertilizer burn, how to flush salts using Penn State’s exact water volumes, and 6 prevention rules that stop it happening again.
The first thing most plant owners do when they see brown, crispy leaf tips is reach for the watering can. That instinct makes sense — brown tips often mean dry soil. But if you’ve been fertilizing recently and the soil still feels damp, you may be about to make things worse.
Fertilizer burn is one of the most common houseplant problems, and it’s easy to misread. The symptoms — brown tips, yellowing leaves, wilting — overlap almost perfectly with drought, root rot, and pest damage. The difference matters because the treatments are opposite: root rot needs less water; fertilizer burn needs a lot of it.
This article walks you through five specific signs that point to fertilizer burn rather than something else, explains the science behind why it happens, and gives you a step-by-step flush protocol with exact water volumes backed by Penn State Extension research. You’ll also find a recovery timeline so you know what ‘getting better’ actually looks like — because it’s not what most people expect.
What Fertilizer Salts Actually Do to Your Plant
‘Fertilizer burn’ sounds dramatic, but the mechanism is straightforward — and understanding it makes every treatment step obvious.

Three pre-planned garden beds, free
Stop staring at empty beds: printable plans with exact layouts, plant lists and planting calendars — yours free from the Garden Library.
Most commercial fertilizers are salt compounds. Nitrogen fertilizers, phosphates, potassium chloride — all are mineral salts that dissolve in water. At normal application rates, those dissolved salts move through the root zone and deliver nutrients. Overapply them, and the chemistry reverses.
The key principle: water always moves toward higher salt concentrations. When salt levels in the soil exceed the concentration inside root cells, water flows out of the roots rather than in — the opposite of what plants need. This is osmosis working against the plant.
Research on plant salt stress physiology identifies two distinct damage phases:
Phase 1 — Osmotic stress (first days to a week): The high salt concentration in the surrounding soil draws water out of root cells. Turgor pressure drops. The plant wilts and leaves droop even though the soil is moist. If you checked the soil right now, it would feel perfectly damp — which is exactly why fertilizer burn gets misdiagnosed as underwatering.
Phase 2 — Ion toxicity (weeks, if untreated): As the plant absorbs excess sodium, chloride, and sulfate ions, those ions accumulate in leaf tissue. They interfere with photosynthesis, disrupt enzyme function, and cause the characteristic brown, crispy margins you’re seeing. By this point, the damage visible on leaves reflects chemistry that happened weeks earlier.
Houseplants are especially vulnerable compared to garden plants. Outdoor soil benefits from rainfall that dilutes and leaches salts naturally. Container plants have nowhere for salts to go — they concentrate in the limited potting mix with every application cycle. According to Penn State Extension, acceptable conductivity in soilless potting mixes tops out at 2.5 millisiemens (mS). Levels beyond that consistently damage roots.
The practical takeaway: the sooner you act after noticing symptoms, the more likely you catch the plant in Phase 1, before ion toxicity compounds the damage. Flush promptly.
5 Signs You’re Looking at Fertilizer Burn
Fertilizer burn has a recognisable pattern. When you see more than two of these signs together — especially after a recent fertilizing session — the diagnosis is almost certain.
Sign 1: Brown, Crispy Leaf Tips and Margins
This is usually the first visible symptom. Leaf tips turn brown and dry from the tip inward, often with a thin yellow border separating dead tissue from living green. In severe cases, the brown zone extends across the full leaf margin.
It happens because salts accumulate at the leaf tips, where water exits through transpiration. The concentration point gets hit hardest and shows damage first.
Sign 2: Yellowing Lower Leaves
Lower, older leaves yellow and drop before upper leaves show symptoms. The plant is diverting what little water it can extract toward newer growth. A wave of yellowing moving upward through the plant — combined with recent fertilizer use — makes fertilizer burn a strong candidate.
Sign 3: Wilting Despite Moist Soil
This is the counterintuitive symptom that trips people up most often. You check the soil, find it damp, assume the plant needs more water, and add more. More water dilutes salts briefly, but if the root cause is accumulated fertilizer salts, you’re not solving anything.
Wilt from fertilizer burn comes from root damage, not from dry soil. The roots can’t deliver water because osmotic stress has compromised their function — the moisture is there, but the delivery system is broken.
Sign 4: White or Tan Crust on the Soil Surface or Pot Rim
Salt deposits crystallise on the soil surface and along the inside rim of pots as water evaporates. This crust is excess fertilizer residue made visible. Both WSU Extension and Penn State Extension identify this salt crust as one of the most reliable indicators of accumulated salt damage in container plants.
Stop guessing pounds from an NPK bag.
Enter the three numbers on your bag and your square footage — get exact pounds to spread, per pass and total.
→ Convert My NPK BagDon’t confuse it with mineral deposits from hard tap water, which also appear white — the distinction: fertilizer-salt crust typically appears after heavy feeding sessions and has a broader, more even distribution across the soil surface.
Sign 5: Dark, Limp Roots
This one requires pulling the plant from its pot. Healthy roots are firm and white or pale tan. Fertilizer burn roots turn dark brown to black and feel limp rather than crisp. Unlike root rot — where roots turn mushy and smell unpleasant — fertilizer-burned roots are dry and shrivelled.
Penn State Extension lists ‘browned or blackened limp roots’ as an advanced symptom. By the time roots look like this, treatment needs to be immediate and thorough.
| Symptom | What you see | Why it happens |
|---|---|---|
| Brown leaf tips and margins | Crispy brown from tip inward, yellow border | Salt accumulates at transpiration points |
| Yellowing lower leaves | Older leaves yellow and drop first | Plant diverts water toward new growth |
| Wilting despite moist soil | Drooping leaves, wet potting mix | Root damage impairs water uptake |
| White/tan soil crust | Deposits on soil surface or pot rim | Evaporated water leaves salts behind |
| Dark, limp roots | Brown-black, shrivelled — not mushy | Osmotic dehydration of root tissue |
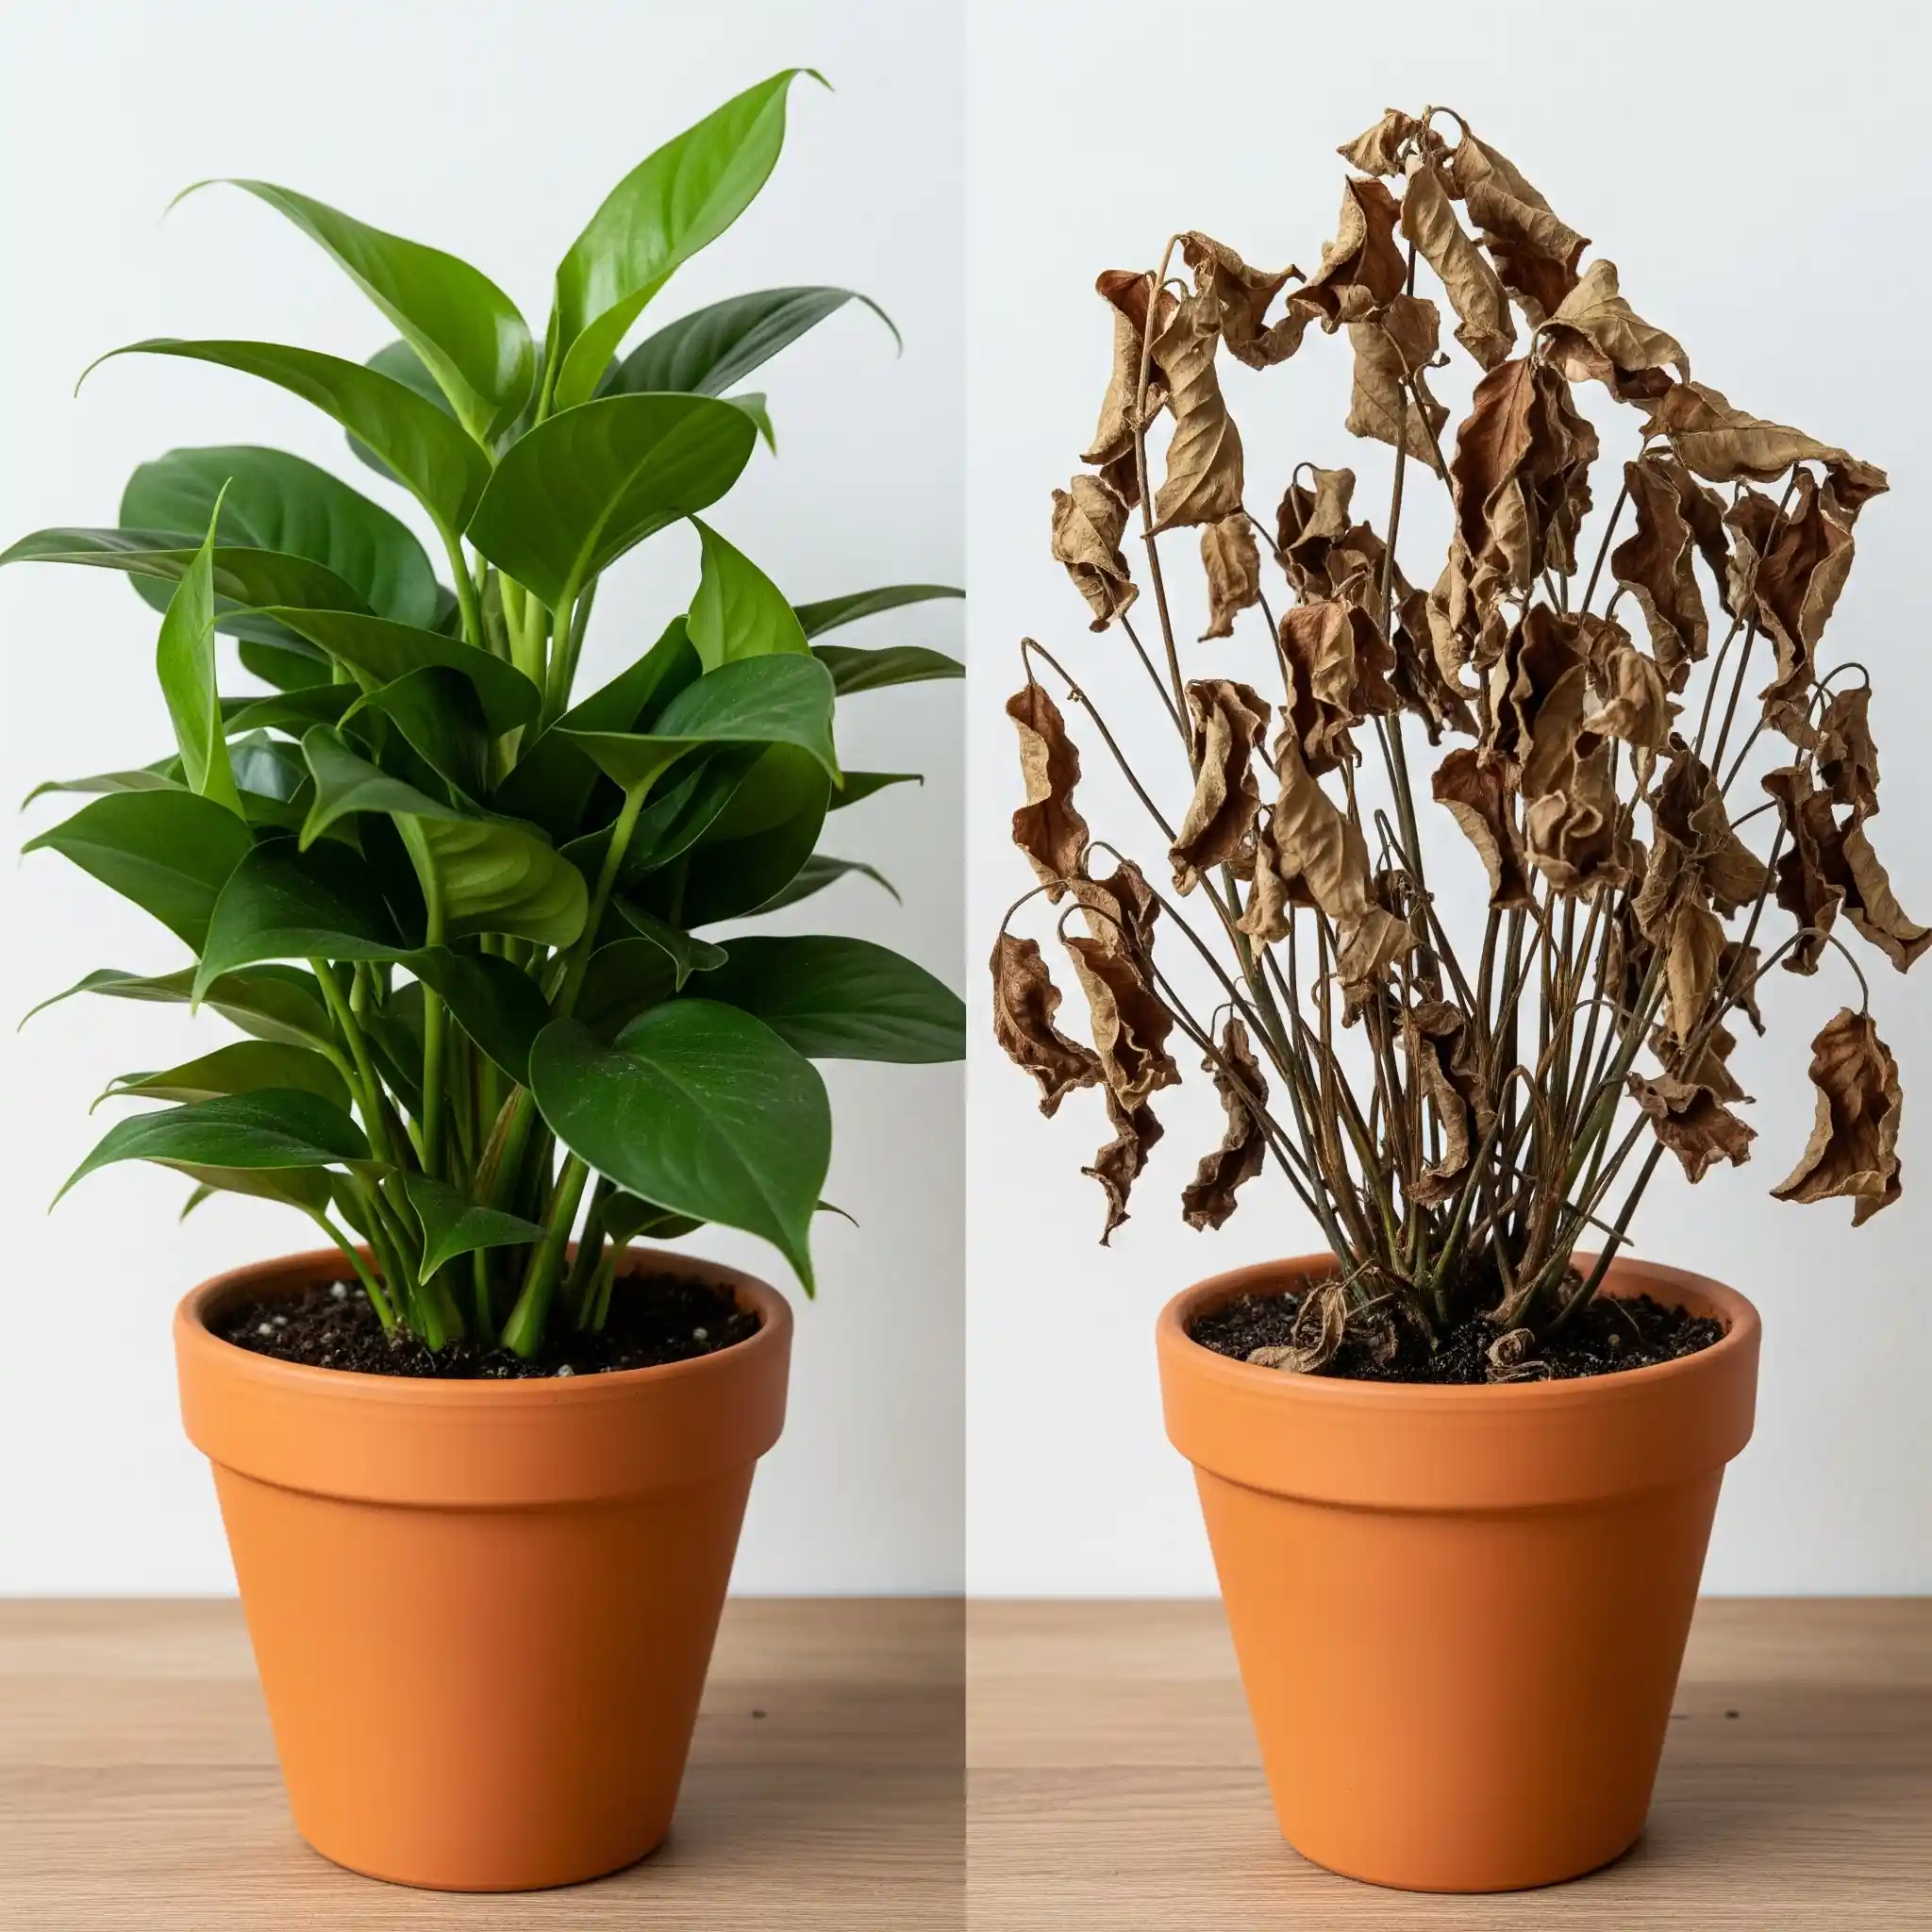
WSU Extension adds one particularly useful diagnostic clue: fertilizer burn distributes evenly across the whole plant — the same damage pattern appears on leaves throughout. Pest damage and fungal disease appear in clusters or irregular patches. If your plant looks uniformly stressed, salt damage is more likely than disease or pests.
Fertilizer Burn or Something Else? A Differential Diagnosis
Before you do anything, confirm you’re dealing with fertilizer burn. Aggressively flushing a plant with root rot will worsen the root rot. Treating a drought-stressed plant as a salt problem wastes time. This check takes two minutes and prevents you from making things worse.
| Condition | Root state | Soil state | Smell? | Symptom pattern | Key clue |
|---|---|---|---|---|---|
| Fertilizer burn | Dark, dry, shrivelled | Moist with white crust | None | Even across whole plant | Recent fertilizer application |
| Root rot | Black, soft, mushy | Waterlogged | Sour/rotting | Starts at base, spreads up | History of overwatering |
| Underwatering | Dry, pale, thin | Bone dry, pulling from edges | None | Tips and margins, whole plant | Completely dry soil confirms it |
| Pest damage | Usually normal | Normal | None | Patchy, irregular clusters | Visible insects or webbing |
The critical difference between fertilizer burn and root rot: Both cause wilting and dark roots, but root rot roots are soft and smell unpleasant when pressed. Fertilizer burn roots are dry and firm — just discoloured. Check the soil too: root rot plants sit in waterlogged compost; fertilizer burn plants often have damp soil with a visible white salt crust.
When NOT to flush: If your inspection points to root rot, heavy flushing is the worst response. Root rot needs reduced watering and usually repotting into dry, fresh mix — not a flood. Only flush when you’re confident fertilizer salts are the cause. Our guide on root rot in houseplants walks through the root inspection process in detail if you need to rule that out first.
How to Fix Fertilizer Burn — The Flush Protocol
If you’ve confirmed fertilizer burn, the treatment is straightforward: flush the excess salts out with water. The detail most guides miss is the volume required to actually move the salts.
Penn State Extension quantified it precisely:
- 6 inches of water reduces soil salt content by 50%
- 12 inches of water reduces salt content by 80%
- 24 inches of water reduces salt content by 90%
A quick pour doesn’t cut it. You need water to flow continuously through the container, carrying dissolved salts out the drainage hole rather than just redistributing them. In practice, most 6-inch pots need three or four separate 500ml passes to reach the 12-inch threshold — pour slowly, watch for drainage to run clear, then repeat.
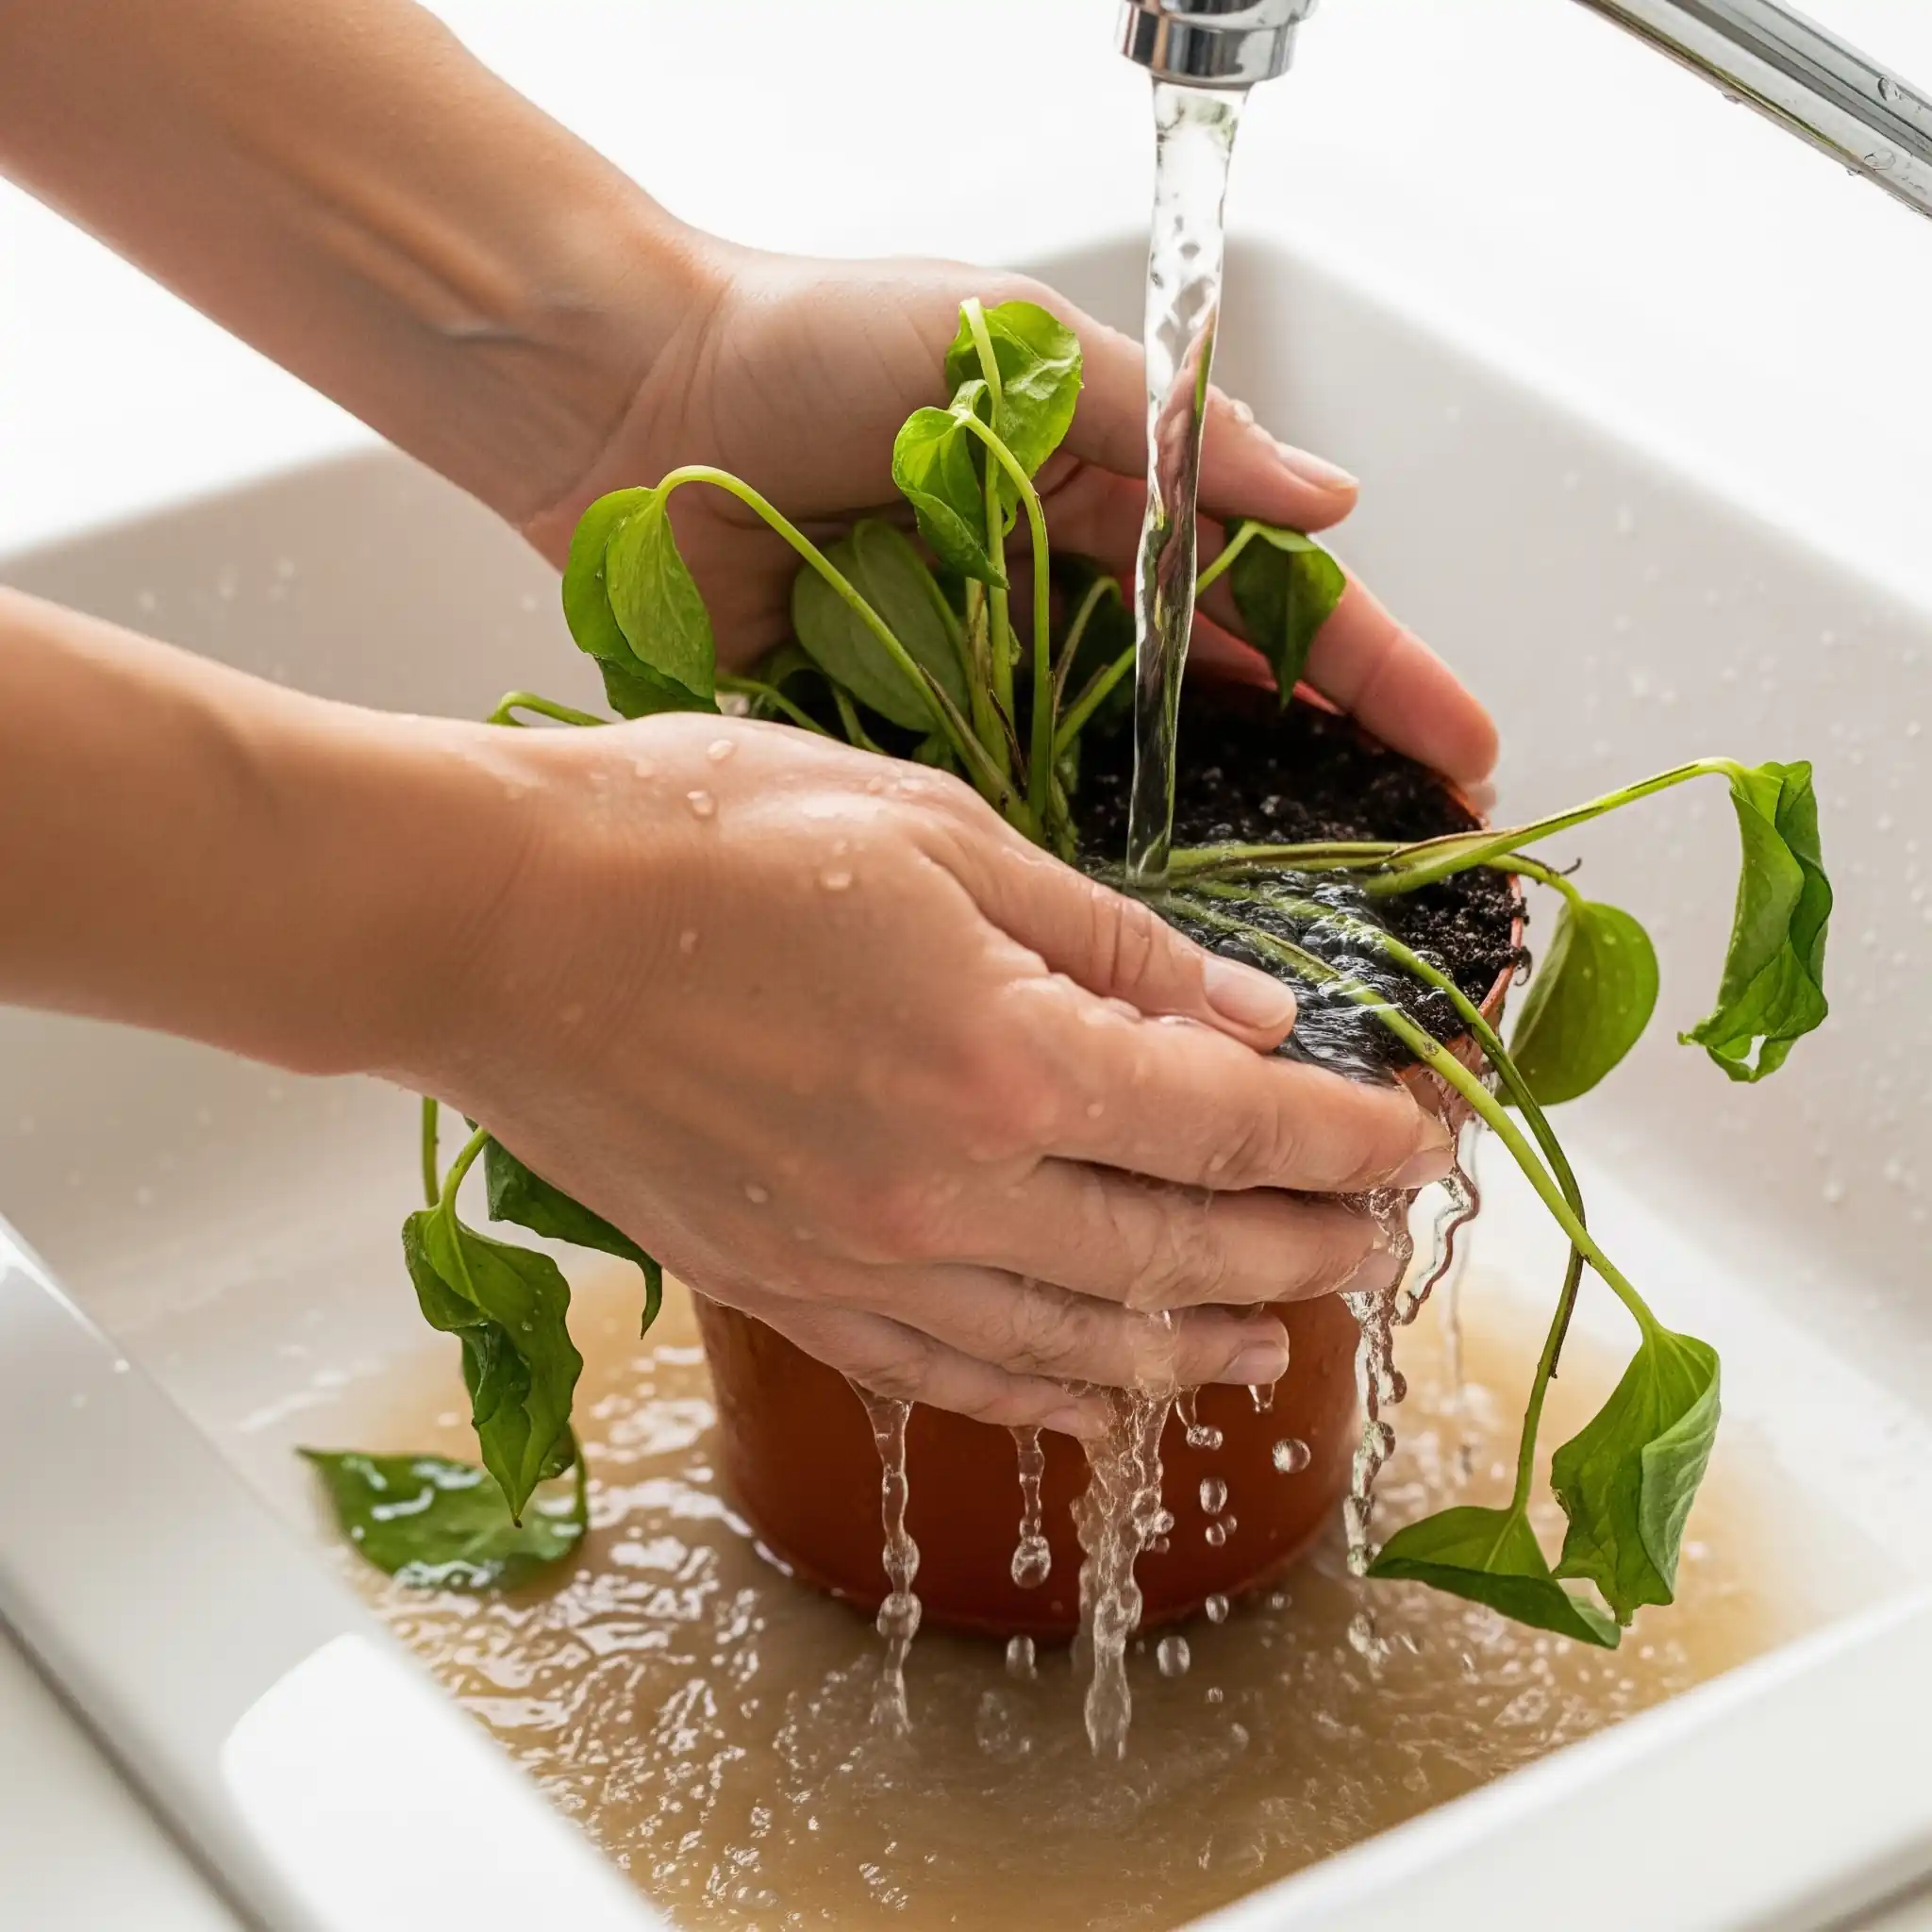
Step 1: Move the plant to a sink, bathtub, or outdoors. You need free drainage. Water must exit the pot completely — never let it pool in a saucer, or the salts will reabsorb as the water sits.
Step 2: Remove any saucer. A full saucer reabsorbs salt-laden water back into the root zone. Take it away before you start flushing.
Step 3: Pour water slowly and continuously until it runs freely from the drainage holes. Use room-temperature water. Aim for at least 12 inches’ equivalent — for a 6-inch pot that means roughly 1.5 to 2 litres, poured in stages. Pause between pours to let each batch drain fully before adding the next.
Step 4: Wait 2–3 hours, then repeat. Penn State recommends a second flush on the same day or the following day. The first flush removes the bulk of dissolved salts; the second captures what was absorbed into the potting matrix.
Step 5: Trim burned leaves. Use clean scissors or pruners to remove brown tips or completely brown leaves. Burned tissue won’t recover — the brown is permanent cellular damage. Cut it cleanly and leave any leaf that still has green in it. Removing dead material also reduces the risk of fungal issues taking hold in weakened tissue.
Step 6: Hold fertilizer for 4–6 weeks. Iowa State University Extension recommends waiting until the plant shows clear active growth before resuming feeding. Restarting too early risks burning already-stressed roots before they’ve rebuilt.
When flushing isn’t enough — the repotting option: If the burn was caused by slow-release fertilizer granules, flushing removes only the already-dissolved salts — the granules keep releasing new salts into the mix. In this case, repotting into completely fresh potting mix is the only complete solution. Remove as much old mix as possible, rinse the roots with lukewarm water, and replant. Our houseplant repotting guide covers the full technique.
Recovery Timeline — What ‘Getting Better’ Actually Looks Like
Most plant owners expect a quick turnaround after flushing. The reality is more gradual — and knowing what to expect prevents the common mistake of retreating a plant that’s already recovering normally.
Week 1: Wilting may persist or worsen slightly as the plant adjusts. This is normal. The osmotic stress doesn’t reverse the moment you flush — the roots need time to rebuild function.
Weeks 2–4: Wilting eases. New root growth begins in plants treated promptly. You won’t see this underground, but it’s the foundation everything else depends on.
Weeks 4–6: New leaf growth appears at the growing tips. Bright, uncurled new leaves are the real recovery signal. This is what you’re watching for — not leaf recovery, but new growth.
What won’t happen: Burned leaf tips don’t turn green again. The brown is permanent cellular damage from ion toxicity. The success metric is new healthy leaves, not existing leaves healing. Once you understand this, you stop worrying about the brown tips and start watching the growing points instead.
Slow-release fertilizer cases: Recovery takes longer because residual nutrient release continues even after repotting. Expect 6–8 weeks before confident new growth appears, and hold fertilizer for 8–10 weeks rather than the usual 4–6.
When to consider the plant unrecoverable: If no new growth appears after 8 weeks and roots are entirely blackened and soft throughout, the damage was too extensive. At that point, examine the stem tips — if any are still firm and green, take cuttings and propagate a new plant from what remains.
6 Rules That Prevent Fertilizer Burn
Prevention is simpler than recovery. Every case of fertilizer burn traces back to one of these six causes.
1. Never Fertilize Dormant Plants
Most houseplants slow or stop growth in fall and winter. A plant that isn’t growing can’t process nutrients — salts accumulate without uptake and concentrate in the potting mix. Iowa State University Extension is explicit on this: fertilize only when plants are actively growing. If you can’t see new leaves emerging, hold the fertiliser.
2. Water First, Fertilize Second
Applying fertilizer to dry soil is one of the most common causes of burn. Dry root cell membranes are already under water stress and have reduced resilience. Salt contact at this point accelerates damage significantly. Water thoroughly first, wait an hour for the soil to absorb evenly, then apply fertilizer to already-moist compost.
3. Use Half-Strength for Indoor Conditions
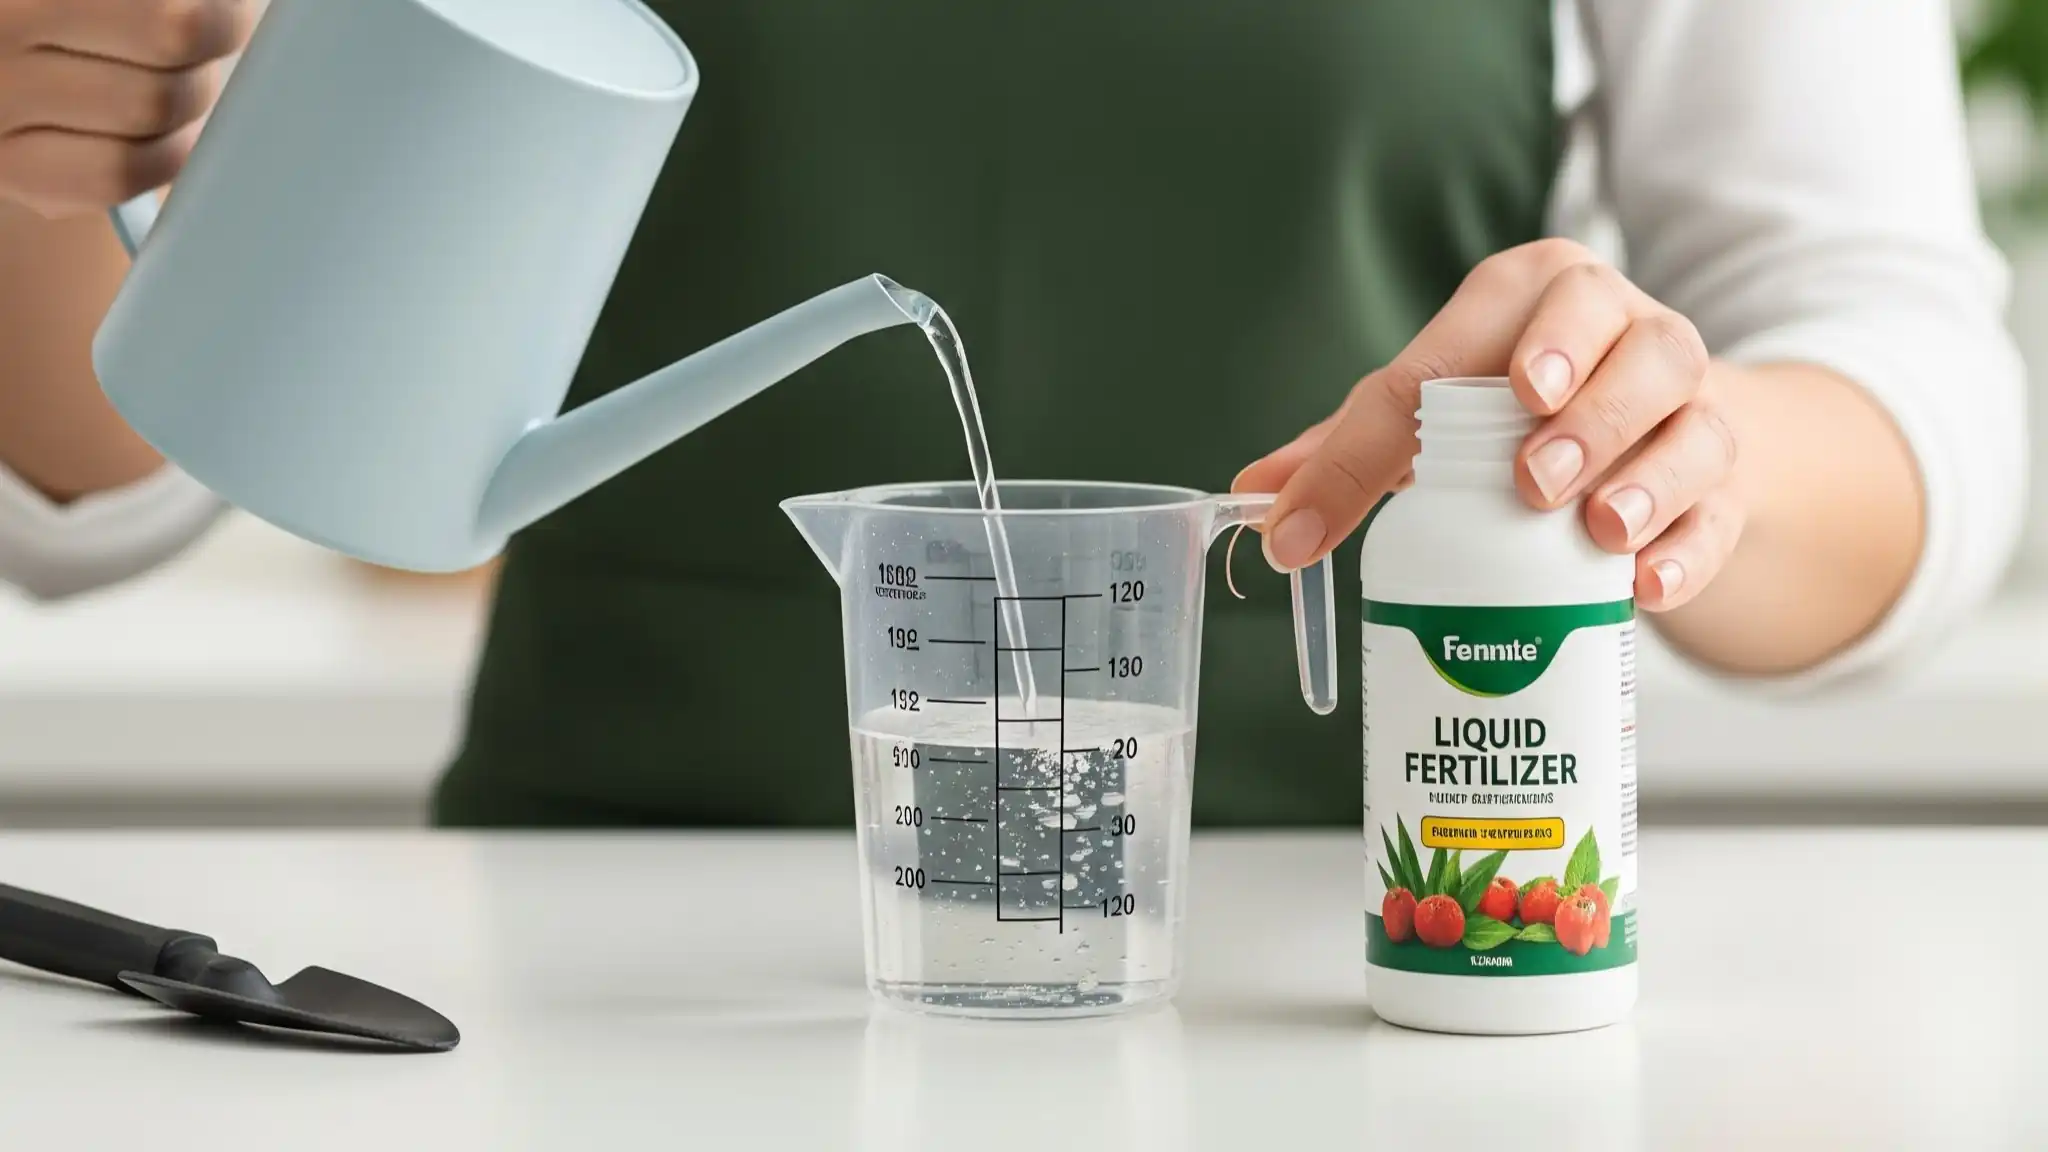
Label instructions are calibrated for outdoor conditions — more light, faster growth, more frequent watering. Indoor plants grow more slowly and need proportionally less. Iowa State Extension recommends half- to quarter-strength dilution for houseplants as a baseline. A fertilizer rated 5-5-5 NPK at half-strength is a safer starting point than a 20-20-20 applied at full dose. Avoid any routine feed above 20-20-20 on standard houseplants.
4. Choose Slow-Release Over Quick-Release Where Possible
Quick-release fertilizers — liquid feeds, water-soluble granules — deliver a salt spike immediately. Slow-release fertilizers break down gradually over weeks to months, keeping soil salt concentrations low. For container plants, slow-release is significantly safer for general maintenance feeding.
The important caveat: never combine slow-release granules with liquid feed. Penn State Extension specifically warns against stacking fertilizer types — the combined salt load quickly exceeds safe limits even when individual doses look reasonable. For a full breakdown of which fertilizer form suits different plants and situations, see our guide to liquid, granular, and slow-release fertilizers explained.
5. Use the 10% Leachate Rule
Every time you water, apply enough so that roughly 10% of the volume drains out the bottom. That outflow carries dissolved salts with it, preventing accumulation over time. Penn State Extension describes this as essential for long-term container health. A plant that never drains freely is accumulating salts with every single watering — the crust on the soil surface is the visible evidence. I find it helps to think of the 10% drainage as a maintenance flush: you’re not just watering, you’re rinsing.
6. Reduce Feeding in Hot or Dry Conditions
UMD Extension notes that fertilizer damage is worse in hot, dry weather because salts concentrate faster as soil moisture evaporates quickly. If your home is unusually dry (central heating in winter) or if you’ve moved houseplants outside in summer sun, reduce fertilizer frequency or skip a feeding cycle. Higher transpiration rates in full sun also concentrate salts at leaf margins faster, which is why the same dilution rate that causes no problems in a shaded windowsill can burn a plant moved to a south-facing patio.
Frequently Asked Questions
How long does fertilizer burn take to show up?
Liquid fertilizers can cause visible symptoms within one to two days. Slow-release fertilizers build up gradually — symptoms may not appear for two to four weeks after application, which is why many plant owners can’t connect the cause to the damage when they see it.
Will fertilizer-burned leaves recover?
No. Leaf tissue that has turned brown due to ion toxicity is permanently damaged. Trim the brown portions cleanly and focus on new growth. Healthy new leaves emerging from the growing tips are the sign that recovery is progressing — not existing leaves healing.
Can fertilizer burn kill a houseplant?
Yes, in severe cases. Advanced burn destroys root tissue entirely, cutting off water and nutrient uptake. Smaller plants with limited root systems are most at risk. Caught early and flushed properly, most houseplants recover fully within 6–8 weeks.
How often should I fertilize houseplants?
During active growth (spring through early fall), every two to four weeks at half-strength suits most common houseplants. Stop completely from late fall through winter. The useful baseline: if the plant isn’t putting out new leaves, hold the feed.
Is organic fertilizer safer than synthetic for avoiding burn?
Generally, yes. Organic fertilizers release nutrients more slowly and have a lower immediate salt load than synthetic quick-release products. That said, any fertilizer — organic included — can burn roots if applied in excess. Half-strength dilution and the 10% leachate rule apply regardless of fertilizer type.
The Fix Is Simpler Than the Damage Looks
Fertilizer burn is almost always an act of misplaced enthusiasm. More isn’t better, and container plants pay the price quickly — they have nowhere for excess salts to go except into the roots.
The biology is simple once you see it: too many salts in the soil reverses osmosis, and the plant desiccates from the root up even with wet soil surrounding it. The fix is equally direct — flush with enough water to actually move the salts (aim for 12 inches minimum for 80% removal), trim the damage, and give the plant 4–6 weeks without feed.
Going forward, half-strength dilution, the 10% leachate rule, and a hard stop on winter fertilizing will prevent most cases before they start. See our complete guide to fertilizing houseplants correctly for species-specific timing and dosing recommendations.
Sources
- Penn State Extension — Over-Fertilization of Potted Plants
- Washington State University Hortsense — Common Cultural: Fertilizer Burn
- University of Maryland Extension — Fertilizer or Pesticide Burn on Vegetable Leaves
- PMC / NIH — Plants’ Response Mechanisms to Salinity Stress
- Iowa State University Extension — Diagnosing Houseplant Problems Related to Poor Culture


