

The Dirt on Raised Bed Bottoms: 5 Materials That Work (And 2 That Will Ruin Your Drainage)

Most raised beds don’t need a bottom liner. Here’s when to use hardware cloth, cardboard, or logs — and which two materials quietly wreck drainage.
Most raised bed guides jump straight to a list of materials. This one starts with a question: does your bed even need anything underneath it?
The answer changes depending on where your bed is sitting, what pests are in your area, and how deep the bed is. Get the context wrong and you can end up with waterlogged roots, a useless barrier that weeds root through in a single season, or — in the most common mistake — a liner that cuts off your plants from the native soil they were trying to reach.
In my first raised beds, I layered landscape fabric under everything. It looked tidy. Then, two seasons in, I found a mat of weed roots embedded through the fabric that I couldn’t remove without destroying it. University of Florida researchers documented the same outcome in a 2026 trial. The fabric wasn’t the problem — using it in the wrong situation was.
This guide covers the five approaches that actually work, the two that cause real damage, and a decision table so you can match your situation to the right choice. For a full breakdown of how to build and fill your beds, see our Raised Bed Gardening Guide.

Three pre-planned garden beds, free
Stop staring at empty beds: printable plans with exact layouts, plant lists and planting calendars — yours free from the Garden Library.
First: Where Is Your Bed Sitting?
Before choosing a bottom material, you need to answer one question: is your raised bed placed on native soil, or on a hard surface like a patio, deck, or concrete?
If it’s on native soil, the most important things happening under your bed are root penetration and earthworm movement. A raised bed on bare ground is an extension of that soil. Most vegetable roots grow deeper than the bed — tomatoes reach 2–3 feet when conditions allow, squash roots go further. Blocking this connection with an impermeable barrier costs yield in ways that take a season to show up. The University of Minnesota Extension is explicit: “In most situations, barriers aren’t necessary and may inhibit root development.”
If your bed sits on concrete, tile, a wooden deck, or another hard surface, you do need a liner. The only drainage and containment you have is what you build into the base.
This single question determines your default. Everything else — weed pressure, burrowing pests, bed depth — adjusts from there.
Option 1: Open Bottom — Often the Best Choice
For a raised bed placed directly on loosened native soil, leaving the bottom open is often the correct decision — and it’s what several university extension services recommend first.
Utah State University Extension specifies that beds on soil should have “no bottom to allow plant roots access to existing soil below the box.” Their guidance: till the soil 6–12 inches deep before placing the bed to give roots a head start into the native ground.
Here is what an open bottom gives you:
- Root depth: Vegetable roots, especially tomatoes, peppers, and winter squash, regularly extend 2–3 feet down when not blocked. Cutting off that access caps yield.
- Earthworm access: Earthworms move upward through an open bottom, processing organic matter and creating drainage channels through your bed soil. No liner means free biological tillage.
- Drainage continuity: Water moves unobstructed from bed soil into native soil below, preventing the saturation zone that forms when a barrier creates a perched water table — more on that in the ‘What to Skip’ section.
When open bottom is the right call:
- Bed is sitting on garden soil or cleared ground
- No burrowing pests in your area
- Existing soil is uncontaminated
When you should add something:
- Hard surface (patio, deck, concrete)
- Gophers, moles, or voles are active
- Placing the bed over thick established grass or weeds
- Bed is 12+ inches deep and you want to reduce fill costs
Option 2: Hardware Cloth for Burrowing Pests
If gophers, moles, or voles are digging into your beds, hardware cloth is the only bottom material that reliably stops them — and it’s the one case where skipping a barrier is genuinely costly.
Hardware cloth is a woven galvanized steel mesh available at hardware stores in rolls. The specifications matter:
- For gophers and moles: 19-gauge wire with ½” × ½” square mesh is the standard. It’s strong enough to resist pushing and fine enough to block adult rodents.
- For voles and mice: Use ¼” mesh. Voles have smaller snouts and can work through ½” mesh with persistence.
- For long-term durability: Standard galvanized hardware cloth lasts 10–15 years in-ground. Stainless steel (304 grade) lasts 25+ years and is worth the cost for permanent beds.
Both the University of Minnesota Extension and Penn State Extension recommend hardware cloth specifically for raised beds in pest areas. UMN recommends it for mice and chipmunks; Penn State for burrowing animals including groundhogs.
Installation: Cut the cloth 6–8 inches wider than your bed frame on each side. After laying it flat under the bed, fold the excess up along the inside walls and staple it to the frame. This closes the gap at the edges where rodents probe for entry.
Hardware cloth is still permeable — water, fine roots, and beneficial soil organisms pass through. You can layer cardboard on top of hardware cloth if you also have weed pressure from below.
Skip the cold, slimy compost pile.
Enter your brown and green materials — get a balanced C:N recipe and temperature targets that activate hot composting.
→ Build My Compost RecipeOption 3: Cardboard — Free Weed Suppression That Feeds Soil
Cardboard is the right choice when you’re setting up a new raised bed over an established lawn or weedy area. It blocks light, ending photosynthesis in the grass and weeds below, and then decomposes over 4–6 months into organic matter. Penn State Extension calls it a way to ‘smother existing vegetation’ before you fill the bed.
Because it breaks down, you don’t create a permanent barrier — it suppresses weeds for one season, then becomes soil. That’s a feature, not a limitation.
How to use cardboard correctly:
- Remove all tape, staples, and labels. Synthetic adhesives don’t decompose and can contaminate soil.
- Use plain brown corrugated cardboard only. Avoid glossy or colorful printed boxes — Clemson Cooperative Extension warns these inks may contain heavy metals.
- Overlap pieces by at least 6 inches. Gaps at seams let weeds through. The overlap doesn’t need to be perfect, but it needs to be continuous.
- Keep it moist. This is the step most guides skip: Clemson warns that dry cardboard becomes hydrophobic, temporarily blocking water from reaching plant roots below. Wet the cardboard before filling the bed, and water again during dry spells if you see the surface staying dry.
- Cover with at least 3 inches of soil or mulch. This keeps the cardboard compressed, moist, and decomposing at the right rate.
Newspaper layers (8–10 sheets thick) work on the same principle and break down a little faster. They’re a useful alternative when cardboard isn’t available.
Limitations: Cardboard doesn’t stop burrowing pests. It lasts one season — long enough for weeds to die, short enough to avoid a permanent drainage problem. In very dry climates it can persist longer, which extends weed suppression but increases the hydrophobicity risk.
Option 4: Landscape Fabric — Right for Hardscape, Wrong for In-Ground
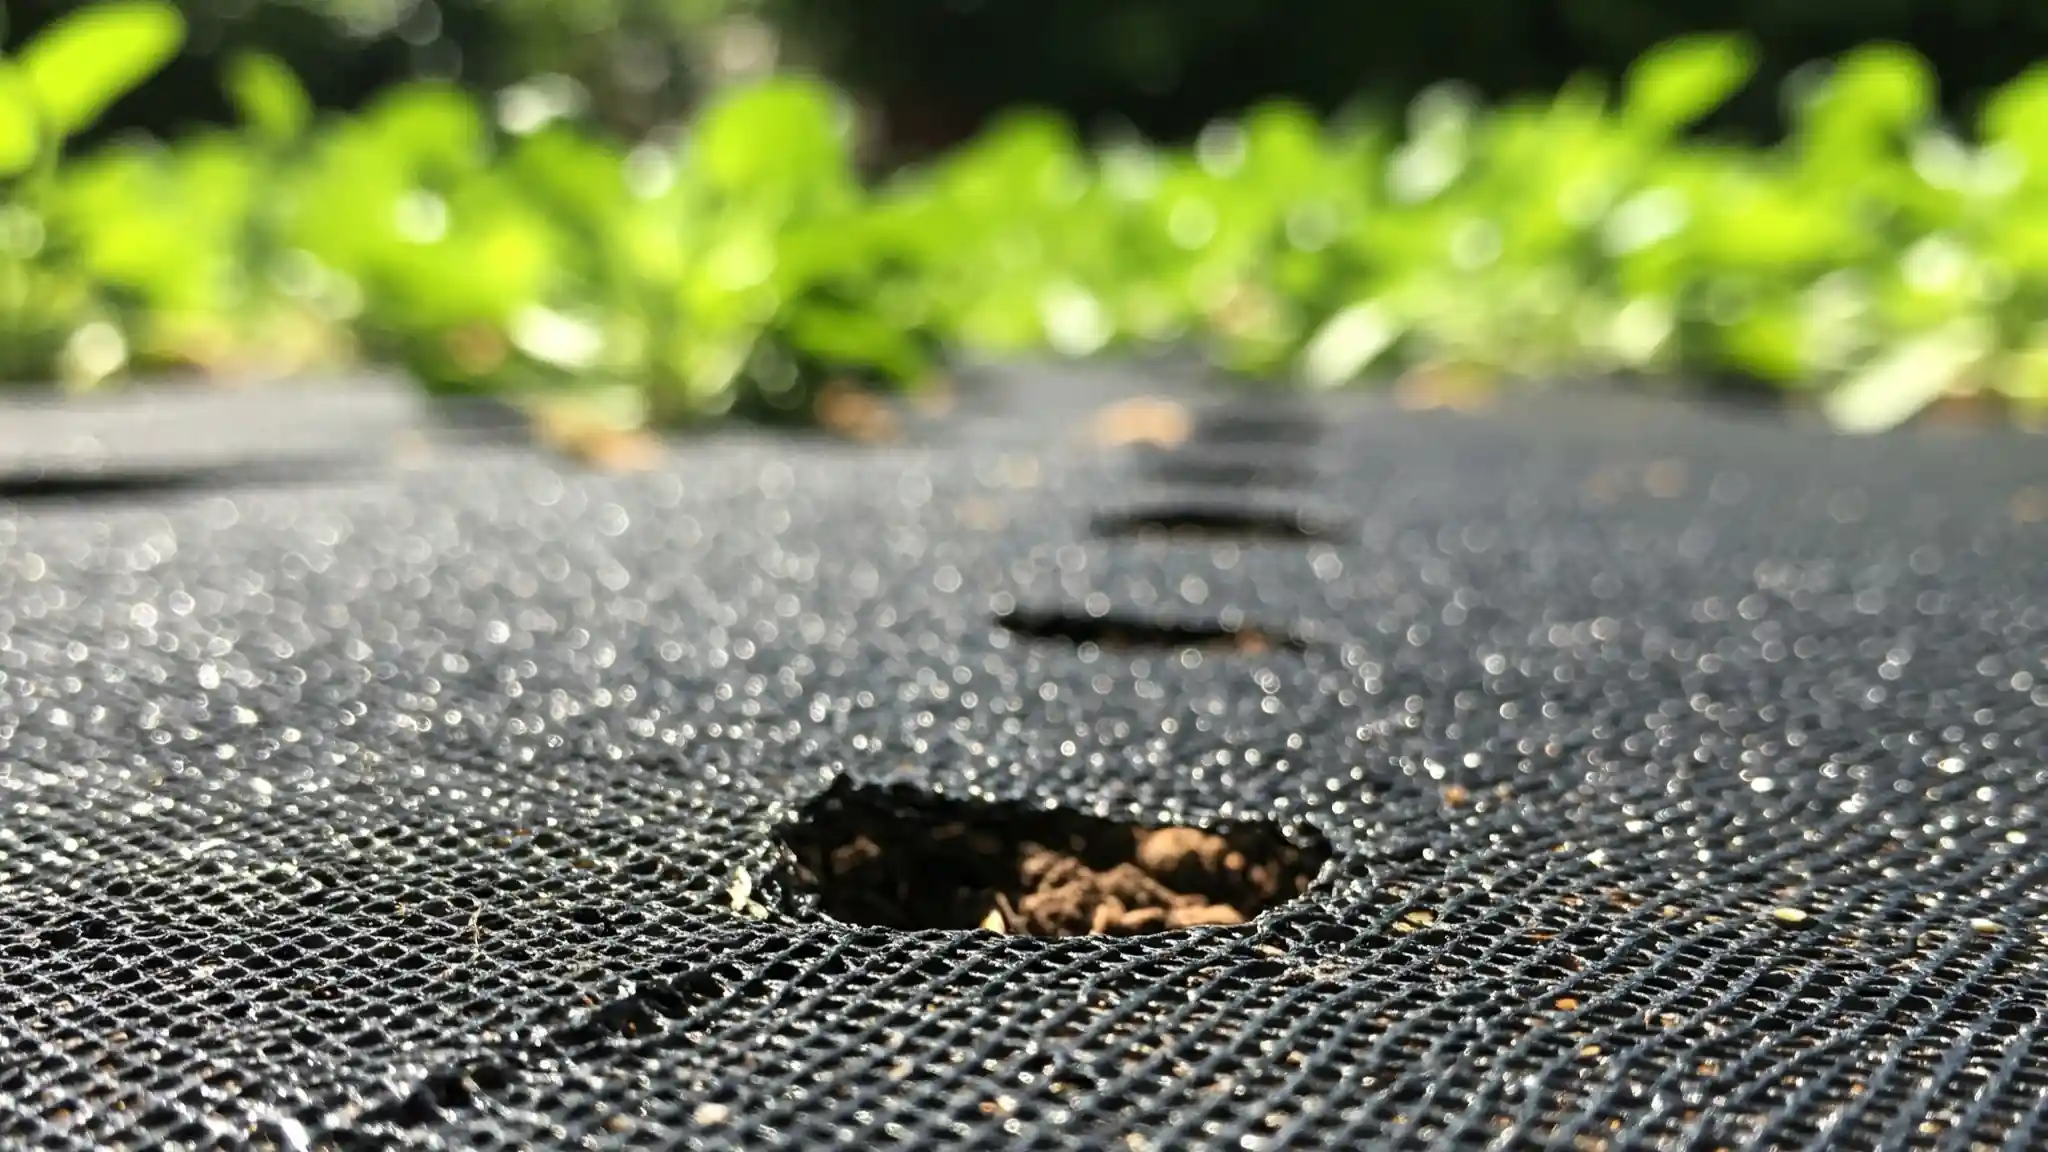
Landscape fabric shows up in almost every raised bed guide. Some university extension services do recommend it — but for a more specific situation than most guides admit.
Iowa State Extension recommends landscape fabric for elevated or tabletop raised beds: a piece of landscaping fabric before adding soil “allows only water to drain through the holes” while keeping soil contained. The University of Minnesota Extension endorses it for beds placed on non-soil surfaces, choosing a permeable material rather than non-permeable plastic.
Where landscape fabric actually works:
- Elevated beds or beds on patios, decks, or gravel
- Short-term deployments where you’ll refresh the bed fill every 2–3 years
- As a liner against bed walls to prevent soil contact with galvanized metal or treated lumber — Iowa State Extension flags that galvanized metals can leach lead and cadmium into soil
For galvanized and treated-wood bed frames specifically, see our comparison of galvanized vs. cedar raised beds — the material you use for the frame affects whether you need a sidewall liner.
Where it fails:
UF/IFAS Extension documented the failure mechanism in a 2026 garden test: after a few months, organic debris accumulated on top of the fabric, and weed seeds germinated in that debris. The roots grew straight through the fabric into the soil below and became impossible to pull — they were anchored by the weave. The conclusion: ‘landscape fabric was a disaster.’
The failure isn’t the fabric itself — it’s using it as a permanent in-ground weed barrier. Weeds don’t germinate from below the fabric; they germinate from seeds that land on top of it. Once organic matter builds up on the surface (which takes one season), the fabric stops nothing and becomes a removal nightmare.
If you use landscape fabric: Use it under beds on hardscape only. Keep the soil topped up to slow weed seed accumulation. Plan to replace it every 3–5 years before roots anchor it permanently.
Option 5: A Hugelkultur-Lite Wood Base for Deep Beds
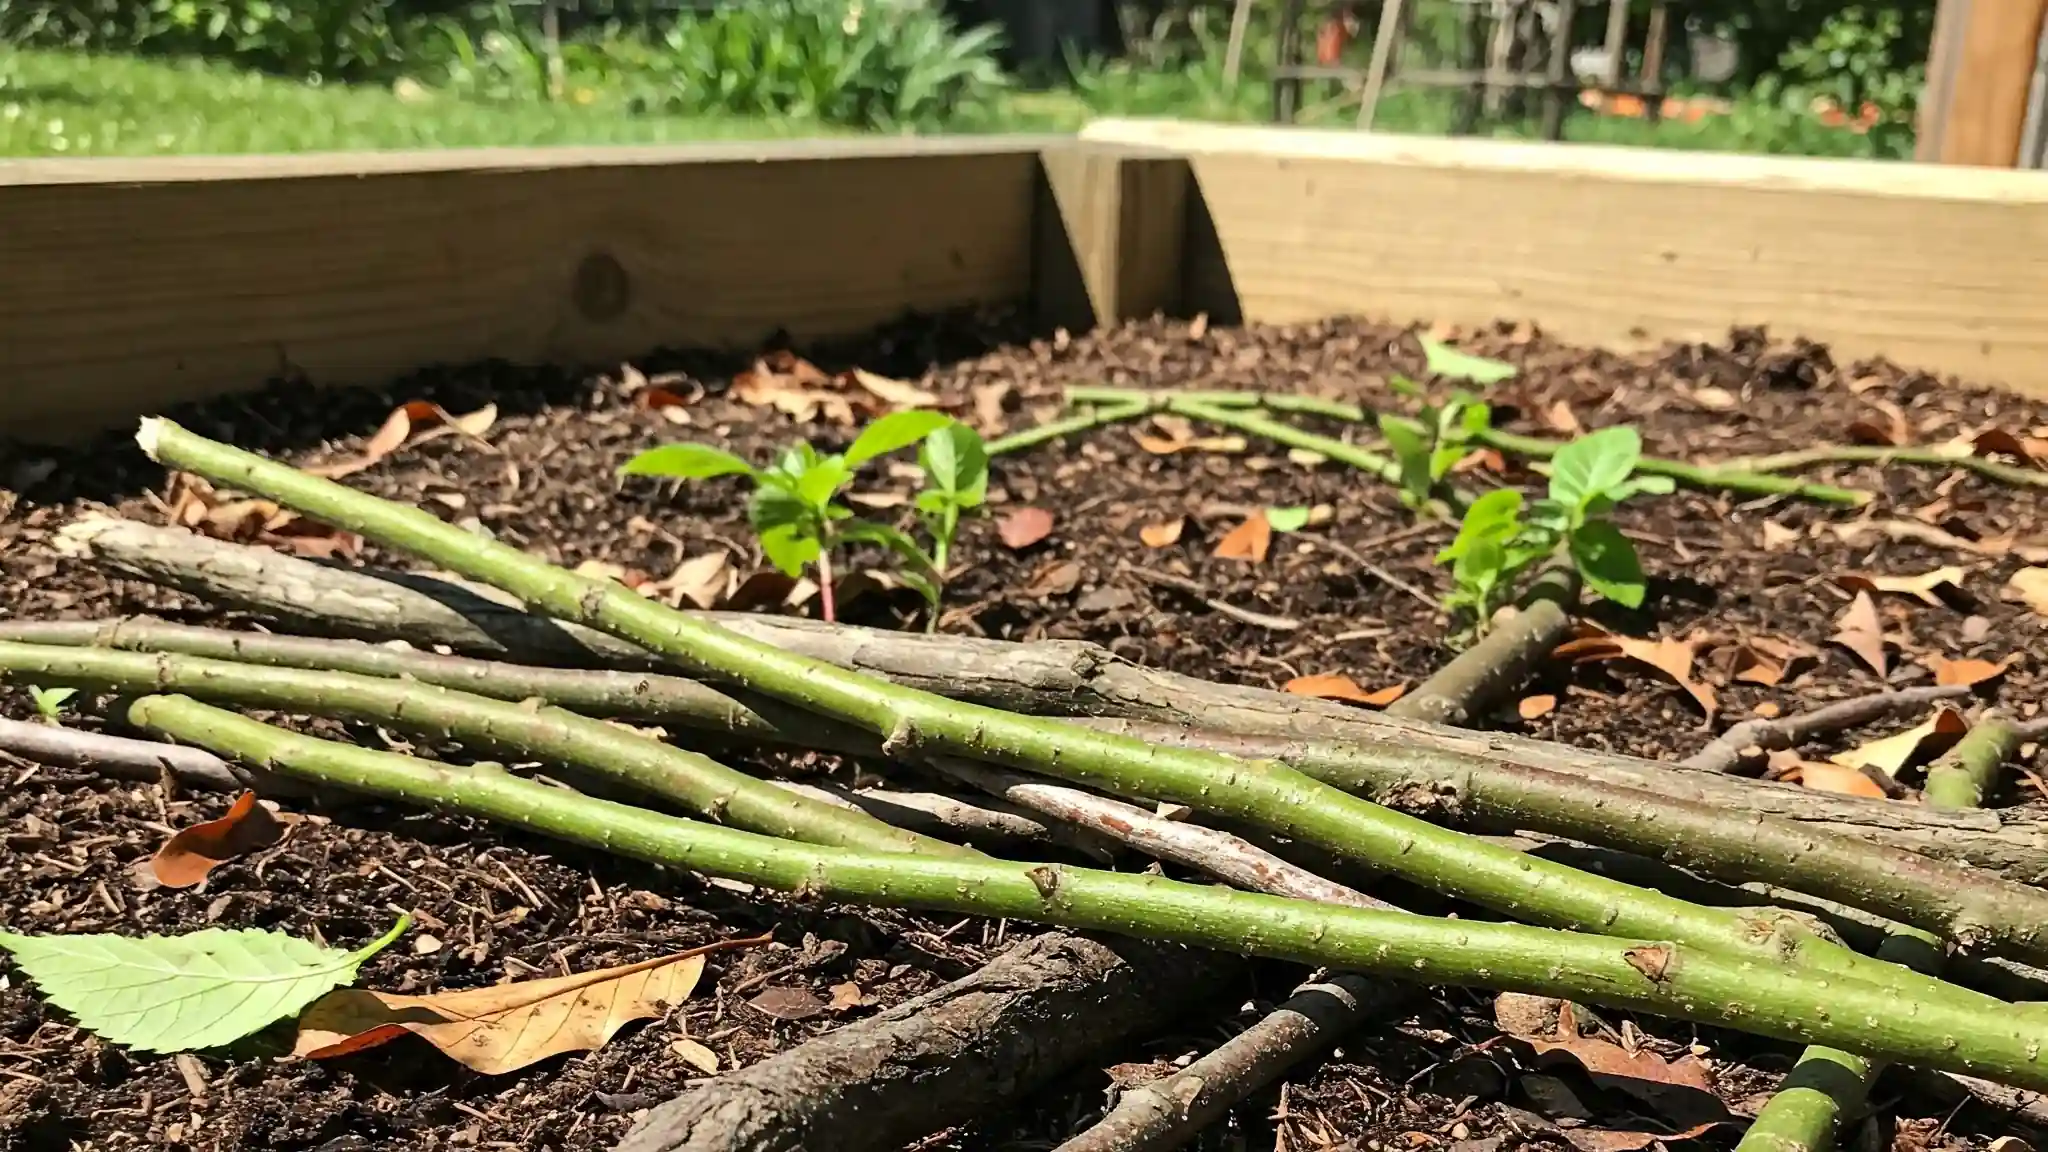
For beds 12 inches or deeper, there is a fifth option that most guides ignore: layering logs, branches, and woody debris at the bottom before adding soil. This is a simplified version of hügelkultur, the German practice of mound-gardening over buried wood.
Penn State Extension describes the mechanism directly: ‘the wood at the bottom acting like a sponge — it holds onto water as it breaks down, leading to reduced water needs in your garden.’ A raised bed with a 4–6 inch wood layer at the base can go longer between waterings because the decomposing wood absorbs irrigation and releases it back to roots as the soil above dries.
This approach also reduces how much soil mix you need to fill a deep bed — useful when you’re filling a 16” or 18” tall bed and don’t want to buy soil by the yard.
The nitrogen draw-down you must understand first:
Fresh wood is mostly carbon. When soil microbes begin decomposing it, they consume nitrogen to build their cell proteins. If you bury fresh logs in direct contact with your growing soil, those microbes pull nitrogen from the soil above, and your plants will show nitrogen deficiency for 1–2 seasons until the wood is partially broken down.
Three ways to prevent nitrogen draw-down:
- Use aged or pre-rotted wood. Wood that is already partially decomposed has lower microbial demand. Dry logs with visible surface decay are ideal.
- Keep at least 8 inches of soil above the wood layer. Nitrogen depletion affects only soil in direct contact with the wood — distance matters.
- Add a nitrogen buffer. A 1–2 inch layer of compost or a handful of blood meal between the wood and the soil mix above buffers the draw.
Woods to avoid in a buried base:
Some trees produce allelopathic compounds that inhibit seed germination and root growth even after burial. According to Epic Gardening’s hugelkultur guide, avoid: black walnut (juglone), black locust (robinin), eucalyptus, tree of heaven, manzanita, sugar maple, red oak, sycamore, and American elm.
Safe species for a buried wood base include oak (when partially decomposed), apple, pear, alder, poplar, birch, and willow.
The 2 You Should Skip Completely
Rocks and Gravel
Placing a drainage layer of rocks or gravel at the bottom of a raised bed is one of the most persistent myths in gardening. The logic seems sound — coarser material should let water through faster. The physics work the opposite way.
Dr. Linda Chalker-Scott of Washington State University has documented the perched water table effect: when water moves through fine soil and reaches a layer of coarser material below, it stops moving. Capillary forces in the fine soil hold water against gravity — the water will not enter the coarser layer until the finer layer above is fully saturated. Adding rocks at the bottom doesn’t improve drainage; it raises the saturation zone upward, so the bottom 6–8 inches of your soil stays waterlogged.
The result: root rot potential increases, oxygen in the root zone drops, and you’ve lost the inches you intended to use as drainage. Remove rocks. If drainage is a concern, improve the soil mix with perlite or coarse compost instead.
Solid Plastic Sheeting
Solid plastic blocks both water and air. Even with drainage holes cut in, plastic creates anaerobic pockets between the holes where oxygen can’t penetrate. Plant roots require oxygen to respire and produce ATP — without it, they suffocate. In anaerobic soil zones, beneficial organisms die and are replaced by anaerobic bacteria that produce toxic metabolites harmful to roots.
The one legitimate use of plastic sheeting near a raised bed is as a sidewall liner when using pressure-treated lumber or older galvanized steel — to prevent potential contaminants from leaching into soil. Even then, use it only on the walls, not the base.
Bottom-Line Decision Chart
| Your situation | Best choice |
|---|---|
| Bed on native soil, no pest pressure | Leave open — no liner needed |
| Gophers, moles, or voles present | 19-gauge hardware cloth (½” mesh) |
| Placing bed over lawn or weedy ground | Cardboard (plain brown, keep moist) |
| Bed on patio, deck, or concrete | Permeable landscape fabric + drainage holes |
| Deep bed (12”+), want less fill | Pre-rotted logs + 8” soil above |
| Active pest pressure + weedy ground | Hardware cloth + cardboard on top |
| Never use | Rocks/gravel, solid plastic sheeting |
Frequently Asked Questions
Do raised garden beds need a bottom liner?
Not if the bed sits on native soil. Most extension services — including the University of Minnesota and Utah State — recommend leaving the bottom open so roots can extend into the soil below. Beds on hard surfaces (patios, decks) do need a permeable liner for containment and drainage.
Can I combine hardware cloth and cardboard?
Yes, and it’s a good combination. Install hardware cloth first, then lay cardboard on top. The cardboard suppresses weeds while the hardware cloth blocks burrowing animals. The cardboard will decompose after one season, but by then the weeds below should be dead.
How long does cardboard last under a raised bed?
About 4–6 months, according to Clemson Cooperative Extension. The timeline depends on moisture and soil temperature — in dry climates it can persist longer. That extended lifespan maintains weed suppression but increases the risk of hydrophobic dry patches forming if the cardboard dries out before fully decomposing.
What do I put under a raised bed on concrete?
Permeable landscape fabric fastened to the base, with drainage holes at least every 6 inches. Iowa State Extension recommends ½-inch holes every 6 inches for elevated beds. Ensure the fabric extends 2–3 inches up the inside walls to prevent soil escaping at the edges.
Does a raised bed need a bottom if it’s on grass?
You don’t need a permanent liner, but a layer of cardboard is worth adding if you want to kill the grass below without digging. The grass will die under the cardboard within 8–12 weeks as the light is cut off. The cardboard then decomposes, and roots from your bed grow into the improved soil below.
Sources
- University of Minnesota Extension — Raised Bed Gardens
- Clemson Cooperative Extension HGIC — How to Use Cardboard in the Landscape
- UF/IFAS Extension Lake County — Landscape Fabric was a Garden Mishap
- Penn State Extension — How to Construct a Raised Bed in the Garden
- Iowa State Extension — Creating Raised Bed Planters
- Penn State Extension — Sheet Mulching: Lawn to Garden Bed in 3 Steps
- The Garden Professors (Dr. Linda Chalker-Scott, WSU) — Container Planting: Intuition vs. Reality
- Epic Gardening — Hugelkultur Raised Beds
- Utah State University Extension — Raised Bed Gardening


