

How to Prepare Your Lawn for Spring: 7 Steps in the Right Order (and Why Sequence Matters)

7 spring lawn steps in order: soil temp thresholds, pre-emergent timing, and the mowing height trick that cuts crabgrass infestation from 80% to 15%.
Most spring lawn advice gives you a list of tasks. That’s not the problem — the problem is that doing those tasks in the wrong order, or at the wrong soil temperature, wastes money and produces a lawn that looks great in April and struggles by August.
Fertilize before the ground is ready and you pump nitrogen into roots that can’t absorb it yet, pushing shallow shoot growth at the expense of deep roots. Apply a pre-emergent the same week you scatter grass seed and you prevent both crabgrass and your new lawn from germinating. Rush onto a wet lawn in March with a rake and you compact the soil and uproot grass just breaking dormancy.
This guide covers seven preparation steps in the sequence that makes each one effective — with the soil temperature thresholds, regional timing windows, and mechanism explanations behind every recommendation. Cool-season grasses (Kentucky bluegrass, fescue, perennial ryegrass) are the primary focus throughout, with warm-season notes (bermuda, zoysia, St. Augustine, centipede) where the timing differs significantly.
Step 1: Wait for the Right Moment
The most common spring lawn mistake is starting too early. Cold, wet March days make it tempting to get outside and do something — but working your lawn before it’s ready causes more damage than doing nothing.

Three pre-planned garden beds, free
Stop staring at empty beds: printable plans with exact layouts, plant lists and planting calendars — yours free from the Garden Library.
The University of Minnesota Extension puts it plainly: wet soil and newly emerging grass plants do not mix well with foot traffic and lawn rakes. When you walk on saturated soil, you compress the air pockets that grass roots need to function. Raking muddy ground can physically uproot plants that are just breaking dormancy — and bare spots created this way invite weeds to take root before your grass can recover.
Two tests before you start:
- The footprint test: Step firmly on the lawn, then lift your foot. If the grass springs back within a few seconds, the soil is firm enough to support light work. If you leave a clear indentation or the soil squishes, wait.
- Soil temperature: Cool-season grasses begin active root growth when soil temperatures exceed 50°F at a 4-inch depth. Below that threshold, any work you do on the lawn doesn’t help the grass — it only stresses it.
Soil temperature also governs the timing of everything that follows. Track yours using a basic soil thermometer pushed 4 inches into the ground, or use free online tools — the University of Minnesota Climatology Working Group provides location-specific soil temperatures at multiple depths across the country.
Step 2: Clean Up and Assess Winter Damage
Once the ground is firm, your first job is a thorough damage assessment — not just cosmetic raking. Start by clearing debris: fallen branches, matted leaves, any material that smothered the grass over winter. This lets light and air reach the grass crowns and gives you a clear view of what actually needs attention.
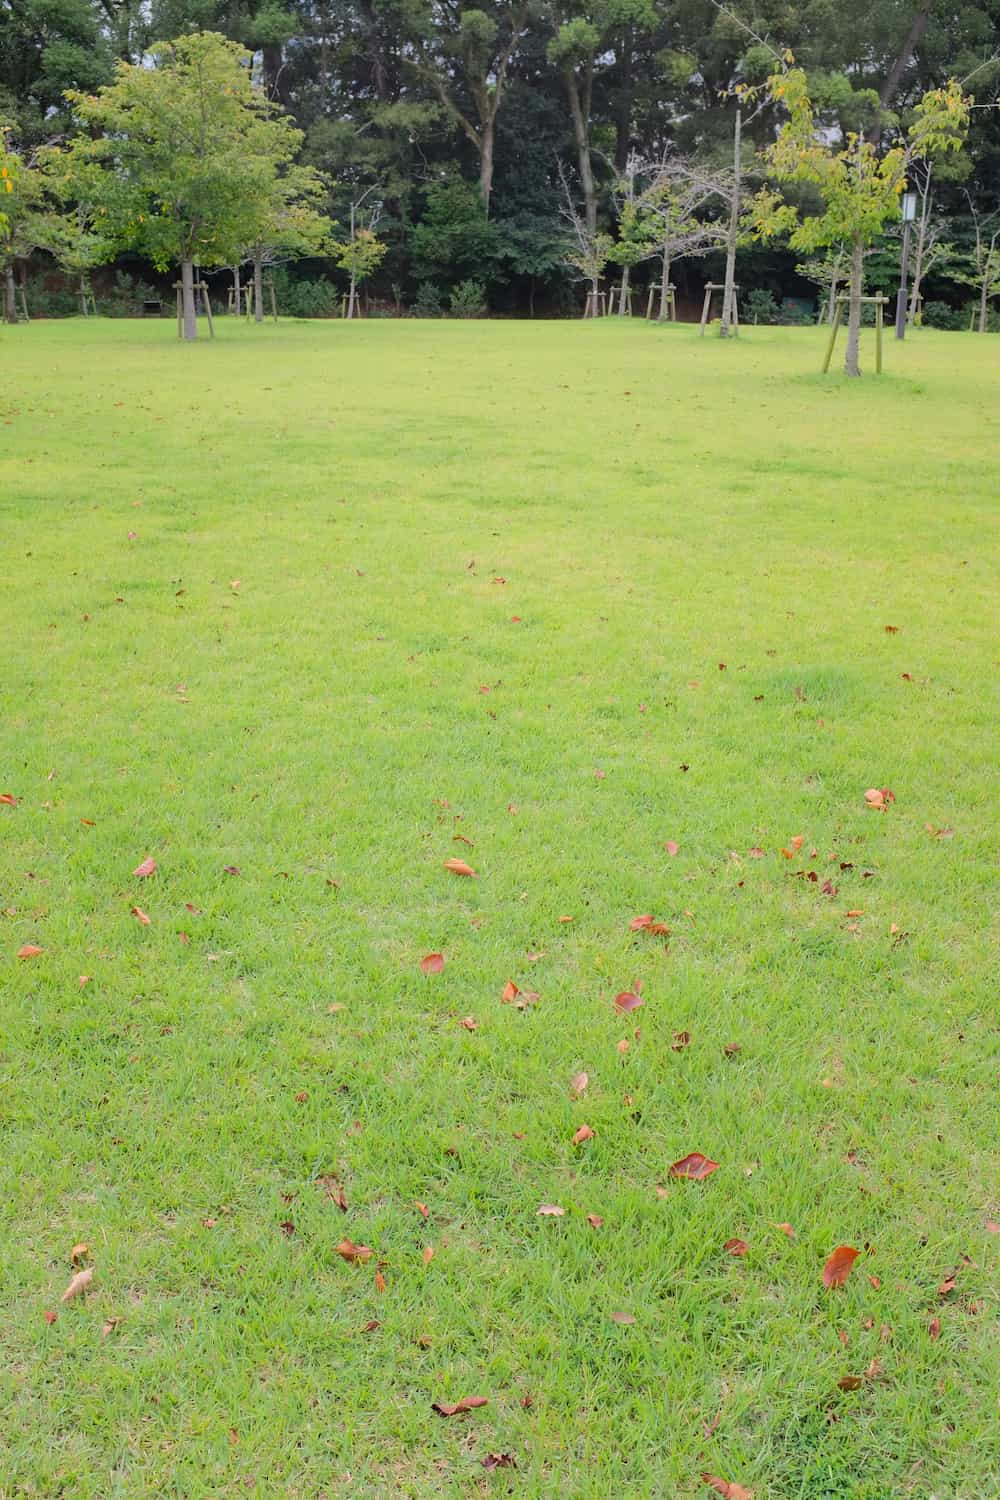
Snow mold: the spring disease most homeowners mishandle
If you see circular patches of dead, white or tan grass that look like papier-mâché — ranging from a few inches to several feet in diameter — that’s gray snow mold (Typhula incarnata). According to Penn State Extension, these patches develop under prolonged snow cover, where temperatures slightly above freezing and darkness create ideal conditions for the fungus. You may also spot tiny (0.5 to 2.5 mm) reddish-brown sclerotia — rounded fungal bodies — embedded in the infected tissue.
The critical rule: do not apply fungicide once snow mold symptoms appear in spring. It is completely ineffective at this stage. The disease has already run its course. The correct treatment is mechanical: rake the matted patches firmly to break up the crust and restore air circulation, then apply a light dose of nitrogen fertilizer to stimulate recovery. Penn State Extension notes that mature turfgrass almost always recovers on its own as temperatures warm — no chemical treatment is needed.
While walking the lawn, note the location and size of:
- Bare patches larger than a dinner plate (candidates for repair — see Step 4 for the timing caveat before you buy seed)
- Discolored or unusually textured areas that could indicate disease or compaction
- High-traffic corridors where grass is chronically thin
Step 3: Test Your Soil Before Spending on Fertilizer
Most homeowners fertilize on instinct. A soil test replaces instinct with data — and it often reveals that you’re applying the wrong pH amendment, the wrong nutrient, or the wrong amount. More importantly, if your soil pH is outside the optimal range, the fertilizer you apply won’t reach your grass roots regardless of how well you time it.
The optimal pH range for turfgrass is 6.0 to 7.5 (University of Missouri Extension). Within that window, nitrogen, phosphorus, potassium, iron, and manganese are all available to roots. Outside it, nutrients lock up in chemical forms the plant can’t absorb.
How to collect a proper sample
- Use a clean trowel or soil probe to pull 12 or more cores from random locations across your lawn, to a depth of 4 inches.
- Remove any thatch and live plant material, then mix everything thoroughly in a clean, dry plastic bucket.
- Allow the soil to air dry overnight, then send 1.5 to 2 cups to your local university extension lab or county extension office — most charge $10 to $20 per sample.
Acting on the results
- pH below 6.0: Apply ground agricultural limestone or dolomitic limestone. Don’t exceed 50 lbs per 1,000 sq ft on an established lawn in a single application. Apply in spring or fall, ideally just after core aeration for maximum soil penetration.
- pH above 7.5: Apply elemental sulfur, but keep the rate under 10 lbs per 1,000 sq ft to avoid leaf burn on established turf.
- Allow 3 to 6 months for either amendment to shift soil pH measurably before retesting.
University of Missouri Extension recommends testing established lawns every three years under stable conditions, or annually if you’re actively correcting a deficiency or pH imbalance.
I tested my own lawn for the first time three years ago and found the soil pH sat at 5.8 — acidic enough that the iron in my fertilizer was largely unavailable to the roots. A single fall lime application brought the pH into range by the following spring, and the improvement in color and density was noticeable without changing anything else.
Step 4: Apply Pre-Emergent Herbicide at the Right Soil Temperature
Pre-emergent herbicides work by preventing weed seeds — especially crabgrass — from completing germination. Once crabgrass has sprouted, these products do nothing. The entire value of a pre-emergent depends on getting it into the ground before the critical soil temperature window closes.
The temperature mechanism
Crabgrass germinates when soil temperature at the 4-inch depth has been above 55°F for several consecutive days, according to the University of Nebraska Extension. At the shallower 0 to 2 inch depth, MSU Extension data shows that 80% of germination occurs when soil reaches 60 to 70°F. Your pre-emergent needs to be applied and watered in before the soil hits that 60°F threshold — which means the application window opens when soil temperatures are in the 50 to 55°F range.
Don’t rely on calendar dates
UMN Turfgrass Science makes this explicit: crabgrass germination is driven by soil temperature, not calendar dates. A warm early spring can advance the window by two to three weeks. More reliable than any fixed date:
Stop missing your zone's planting windows.
Select your US zone and month — get a complete checklist of what to plant, prune, feed, and protect right now.
→ View My Garden Calendar- Soil thermometer reading: 50 to 55°F at 0 to 2 inch depth, trending upward
- Forsythia bloom: When forsythia is in full flower in your area, you’re typically at or near the application window, per MSU Extension
- Growing Degree Days (GDD): MSU’s GDD tracker (base 32°F) identifies 250 to 500 GDD as the optimal pre-emergent window — a tool worth bookmarking if you live in the Upper Midwest
Regional timing benchmarks
| Region | USDA Zones | Pre-Emergent Window | Second Application |
|---|---|---|---|
| Deep South | 8–10 | Late Feb to mid-March | Late April |
| Transition zone / Mid-Atlantic | 6–7 | Late March to mid-April | Late May |
| Midwest / Upper Midwest | 4–6 | Mid-April to early May | Mother’s Day (~mid-May) |
| Northern US | 3–5 | Early to mid-May | Early June |
A second application 4 to 6 weeks after the first extends protection through summer, since most products provide 4 to 16 weeks of residual depending on the active ingredient. Prodiamine, for example, provides up to 16 weeks of residual — among the longest available, per University of Nebraska Extension.
The overseeding conflict you must plan around
Pre-emergent herbicides prevent all grass seed germination — not just weed seeds. If you apply a pre-emergent this spring, you cannot also overseed bare patches in the same season. Iowa State University Extension is direct on this: fall (August 15 to September 15) is the optimal window for overseeding cool-season lawns, and spring overseeding carries significant failure risk from weed competition and heat stress even without a pre-emergent complicating matters.
For spring, repair small bare patches with sod or skip the repair until fall. Do not try to overseed and apply pre-emergent simultaneously — you will block both your grass seed and your weed control.
Skip weed-and-feed combination products
Both Illinois Extension and UMN Turfgrass Science flag this directly. Combination fertilizer-plus-pre-emergent products require you to apply both tasks at the same time — and the optimal timing for each is 3 to 4 weeks apart. Apply the combo product when the pre-emergent timing is right and you’re fertilizing 4 to 6 weeks too early. Wait for fertilizer timing and your pre-emergent goes down 4 to 6 weeks too late. There is no timing that satisfies both tasks simultaneously.
Step 5: Your First Mow — Height and Timing Both Matter
Before you start the mower, the soil should pass the footprint test from Step 1 and the blade should be sharp. A dull blade tears grass instead of cutting it cleanly, leaving ragged, brown-tipped ends that increase water loss and create entry points for fungal disease. Sharpen your blade at the start of every season — it takes 20 minutes and noticeably improves both cut quality and turf health.
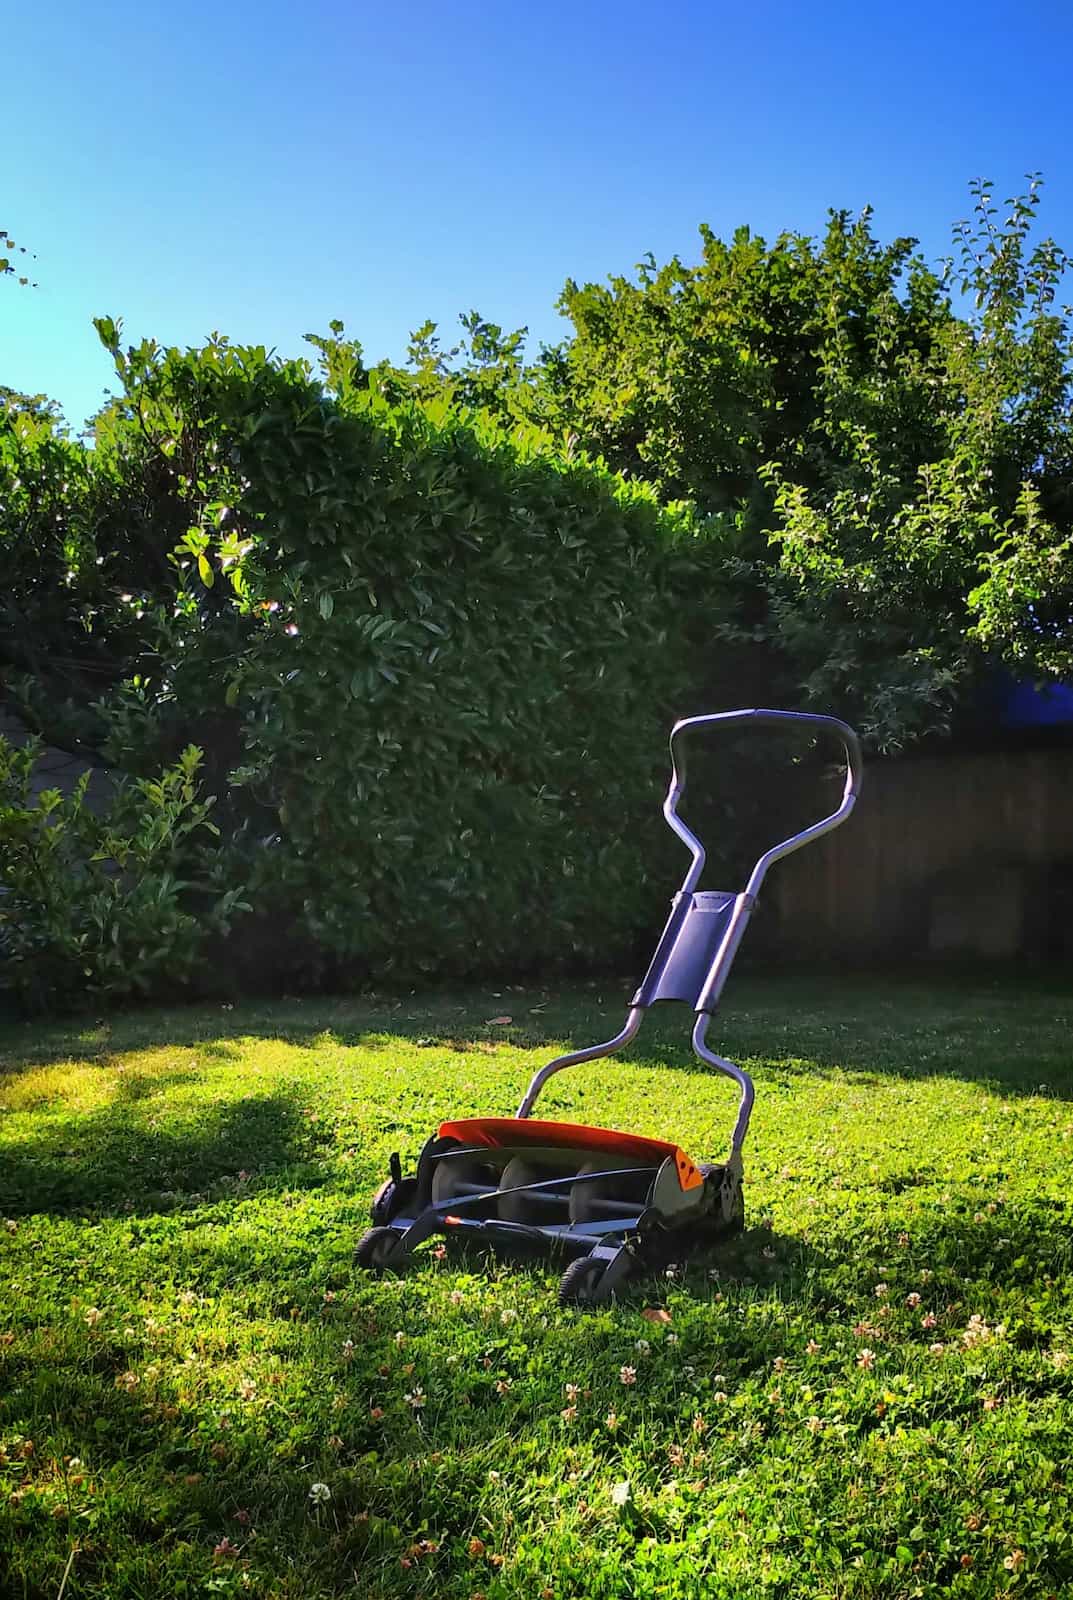
Why mowing height is your cheapest crabgrass control tool
Research from the University of Nebraska Turfgrass Extension produced a result that should change how every homeowner sets their mower deck: raising mowing height from 1.5 inches to 2.5 inches in Kentucky bluegrass plots reduced crabgrass infestation from 80% to less than 15%. The mechanism is straightforward — taller grass shades the soil surface. Crabgrass needs both warmth and light at the soil surface to germinate; a dense canopy at 3 inches removes both.
This means your mowing height setting provides more crabgrass protection than most homeowners realize, and it costs nothing to adjust.
Height recommendations by grass type (K-State Extension)
| Grass Type | Maintenance Height | Notes |
|---|---|---|
| Kentucky bluegrass | 2–3 inches | Higher end better for spring/summer stress |
| Tall fescue | 3–4 inches | Tolerates and benefits from taller cutting |
| Perennial ryegrass | 2–3 inches | Illinois Extension: start at 2 inches, raise to 3 for summer |
| Fine fescues | 2–3 inches | Shade-tolerant; don’t scalp |
| Zoysiagrass | 1–1.5 inches | Warm-season; lower than cool-season grasses |
For the first cut of spring, K-State recommends mowing slightly shorter than your maintenance height to remove dead blades and expose the crowns to light — but do not scalp (never drop below 1 inch). Once active growth begins, raise back to the maintenance height and hold it there through summer.
The one-third rule — with its biological mechanism
Never remove more than one-third of the blade in a single mowing session. K-State’s research explains why: removing more than one-third forces the plant to halt root elongation temporarily while it rushes to regenerate leaf area. The roots stop growing. For a lawn maintained at 3 inches, this means mowing at 4.5 inches — and mowing weekly in spring when growth is fast, not monthly.
Leave the clippings
Unless you’re mowing through diseased patches or the clippings are so heavy they’ll smother the turf, leave them in place. K-State Extension research shows that clippings return nitrogen to the soil within as little as 14 days and can supply up to 25% of your lawn’s annual nitrogen needs through decomposition — reducing what you need to apply as fertilizer.
Step 6: Fertilize — But Not When You Think
This is the step most commonly done wrong, and it has consequences that don’t show up until July or August when you’re looking at a brown, stressed lawn wondering what happened.
Why early spring nitrogen backfires
Cool-season grasses have a natural spring surge hardwired into their growth cycle — they push leaf growth upward after winter dormancy regardless of what you do. Apply nitrogen in early spring and you amplify that shoot surge at the direct expense of root development. Virginia Cooperative Extension describes the outcome clearly: high spring nitrogen rates produce a lush, dark green lawn but lead to shallower root systems, increased disease susceptibility, and poor drought tolerance later in the growing season.
The grass looks exceptional in April. By August, those shallow roots can’t reach moisture and the lawn burns. This is the predictable result of early spring nitrogen — not bad luck, not the heat.
When and how much to apply
Cool-season grasses (Kentucky bluegrass, fescue, ryegrass):
- Target window: When soil temperatures are consistently 55 to 65°F — typically mid-May in the Midwest and Northeast, earlier in the Mid-Atlantic and Upper South
- Rate: 0.75 lbs of nitrogen per 1,000 sq ft using a slow-release product (Iowa State University Extension)
- Virginia Tech ceiling: No more than 1.5 lbs total N per 1,000 sq ft through the end of May
- Fine-leaf fescue: Keep total N under 1 lb through May
Warm-season grasses (bermuda, zoysia, St. Augustine, centipede):
- Wait for 50 to 75% green-up before applying any nitrogen (Virginia Cooperative Extension)
- Always wait until after your average last frost date — nitrogen on warm-season grass followed by a cold snap can cause serious damage
- Annual rates: zoysiagrass and centipedegrass need 1 to 2 lbs N total; bermudagrass and St. Augustinegrass need 3 to 4 lbs N annually
Use slow-release nitrogen
Slow-release (water-insoluble or WIN) nitrogen feeds the lawn gradually as soil temperatures warm and soil bacteria become active. This means the nitrogen releases when roots can actually use it, rather than sitting in solution and leaching away in spring rains. It also significantly reduces the risk of fertilizer burn from concentrated soluble nitrogen.
For help choosing the right product type, see our guide to slow-release vs. quick-release fertilizer. If you’re managing a large lawn on a budget, our breakdown of the cheapest ways to fertilize a large lawn shows why slow-release granular products usually win on cost-per-season. And if you want the full year-round picture, the complete guide to seasonal fertilization covers fall feeding, which is actually the most important application for cool-season lawns.
Step 7: Establish a Watering Routine
In early spring, rainfall typically covers most of your lawn’s water needs. Cool temperatures and frequent rain mean soil moisture stays high longer than in summer, and cool-season grasses in their spring growth window are more water-efficient than summer-stressed turf. You probably don’t need to run irrigation in March or April.
That changes as temperatures climb. Here’s the framework to follow when supplemental watering becomes necessary:
The baseline: 1 inch per week
Grass needs approximately 1 inch of water per week during active growth, including rainfall (Iowa State University Extension). A simple rain gauge — a $5 investment — tells you whether the sky has covered that requirement for the week before you turn on a sprinkler.
Water deeply, not daily
Frequent shallow watering trains roots to stay near the surface — roots follow water, and surface-level water means surface-level roots. UMN Extension recommends deep, infrequent sessions: 1 to 2 thorough waterings per week rather than light daily applications. Run your irrigation long enough to wet the soil 6 inches deep. Check penetration depth by pushing a screwdriver into the soil immediately after watering — it should slide in easily to 6 inches if you’ve watered enough.
Water in the morning
UMN Extension specifies early morning watering — ideally between 4 a.m. and 8 a.m. — to minimize evaporation loss and reduce the hours of leaf wetness that fungal diseases need to establish. Evening watering leaves grass blades wet overnight, which is near-ideal for diseases like leaf spot and dollar spot.
When to start supplemental watering
Watch the grass, not the calendar. If you step on the lawn and the blades don’t spring back within a few seconds, the grass is stressed for water. If the top 2 to 3 inches of soil are dry to the touch, it’s time to water. In most of the US, regular supplemental irrigation typically becomes necessary in late May to June as rainfall becomes less consistent and temperatures increase evaporation rates.
Spring Lawn Prep: Month-by-Month Reference
| Month | Cool-Season Grasses (Midwest / Northeast) | Warm-Season Grasses (South / Southwest) |
|---|---|---|
| February | Stay off wet lawn; begin monitoring soil temp | Cleanup and assessment; soil test if needed |
| March | Cleanup when ground is firm; soil test | Pre-emergent when soil hits 50–55°F (zones 8–10) |
| April | Pre-emergent at 50–55°F soil; first mow | Fertilize as grass reaches 50–75% green-up; mow begins |
| May | First fertilizer (mid-May, soil 55–65°F); second pre-emergent around Mother’s Day | Establish watering routine; second fertilizer for bermuda |
| June | Water 1 inch/week; mow at 3 inches or taller | Fertilize bermuda/St. Augustine every 6–8 weeks through summer |
| Late Aug – Sep | Overseed bare patches; most important fertilizer application of the year | Reduce feeding; prepare for dormancy |
Frequently Asked Questions
Can I aerate my lawn in spring?
Yes — but spring aeration breaks the pre-emergent herbicide barrier you just applied. Core aeration physically punctures the chemical layer in the soil, creating gaps that crabgrass seeds can exploit. If crabgrass is a consistent problem, schedule aeration for fall when pre-emergent isn’t in play. If compaction is more urgent than weed control this spring, aerate — but don’t also apply a pre-emergent, since the aeration will compromise it.
When should I overseed bare patches?
Not if you’ve applied a pre-emergent this spring — pre-emergent herbicides prevent all grass seed germination, including your lawn grass. For spring, repair small bare patches with sod. For larger areas, hold off until late August to mid-September, when soil temperatures support rapid germination, competition from annual weeds drops off, and you’re not competing with a pre-emergent barrier.
My lawn has white, papery patches after snow melt. What do I do?
That’s snow mold. Rake the affected patches firmly to break up the matted, crusted leaf blades and restore air circulation. Penn State Extension confirms that spring fungicide application provides no benefit once symptoms are visible. Apply a light nitrogen top-dress to promote recovery and the patches will almost certainly fill in as temperatures warm.
How early is too early to fertilize in spring?
Any time before soil temperatures are consistently in the 55 to 65°F range at a 4-inch depth — which for most of the Midwest and Northeast means before mid-May. Nitrogen applied before roots are actively growing pushes shoot growth at the expense of roots, leaving a lawn that looks excellent in spring and performs poorly under summer stress.
Should I leave or collect grass clippings?
Leave them unless you’re mowing through visibly diseased patches. Clippings decompose quickly and return nitrogen to the soil within 14 days (K-State Extension), supplying up to 25% of annual nitrogen needs over the season. Removing clippings consistently means your lawn needs roughly 25% more fertilizer to maintain the same nitrogen level — an unnecessary expense.
The Sequence Is the Strategy
The seven steps above — waiting for firm ground, assessing and cleaning up, testing soil, timing your pre-emergent, mowing at the right height, holding nitrogen until mid-May, and watering deeply — form a sequence where each step creates better conditions for the next. Skip or reorder any one of them and the downstream effects compound.
The most reliable single change for most homeowners: raise the mower deck. The data from Nebraska Extension is clear — moving from 1.5 inches to 2.5 inches reduced crabgrass from 80% to under 15%. That’s a bigger crabgrass impact than most herbicide programs, and it costs nothing except adjusting a lever on your mower.
If you haven’t soil tested in three years, that’s the other high-leverage action. Most county extension offices process samples for $10 to $20, and a single result guides your pH amendment plan for the next three seasons — meaning every bag of fertilizer you apply after that actually reaches your grass roots.
Sources
- University of Nebraska Extension (Lancaster County) — Soil Temperatures and Spring Preemergence Herbicide Applications
- University of Minnesota Extension — Crabgrass
- Michigan State University Extension — Timing Crabgrass Preemergence Applications in Spring
- Virginia Cooperative Extension / Virginia Tech — Spring Lawn Fertilization: Getting it Right
- University of Illinois Extension — Spring Lawn Care: What Should You Really Be Doing?
- Iowa State University Extension — Spring Lawn Care
- University of Minnesota Extension — Guide to Spring Lawn Tasks
- University of Minnesota Turfgrass Science — Spring Preemergent Applications for Crabgrass
- Kansas State University Turfgrass Extension — Mowing
- University of Missouri Extension — Soil Testing for Lawns
- Penn State Extension — Turfgrass Diseases: Gray Snow Mold (Typhula incarnata)